Landing Pages
Successfully led the EOS R5 landing page project, showcasing strong leadership and delivery skills in guiding the team to create a captivating and immersive experience for users.
OVERVIEW
Successfully led the EOS R5 landing page project, showcasing strong leadership and delivery skills in guiding the team to create a captivating and immersive experience for users.
Outcome
As the acting product manager for the landing page of the most anticipated Canon Product, the EOS R5, where I had the honour to rally a talented team formed by a Designer, a Back End Developer, Producer and two outsourced Web-Flow Developers to create a highly dynamic product landing page that reflected the quality and ambition of the product it displayed.
My vision for in this landing page was threefold.
- To have a premium scroll experience that reflected the quality of the EOS R5.
- To have an as-you-scroll narrative that captured the imagination of both professionals and enthusiasts alike.
- To help people imagine the feel of the camera on their hands after looking at the page.
Context
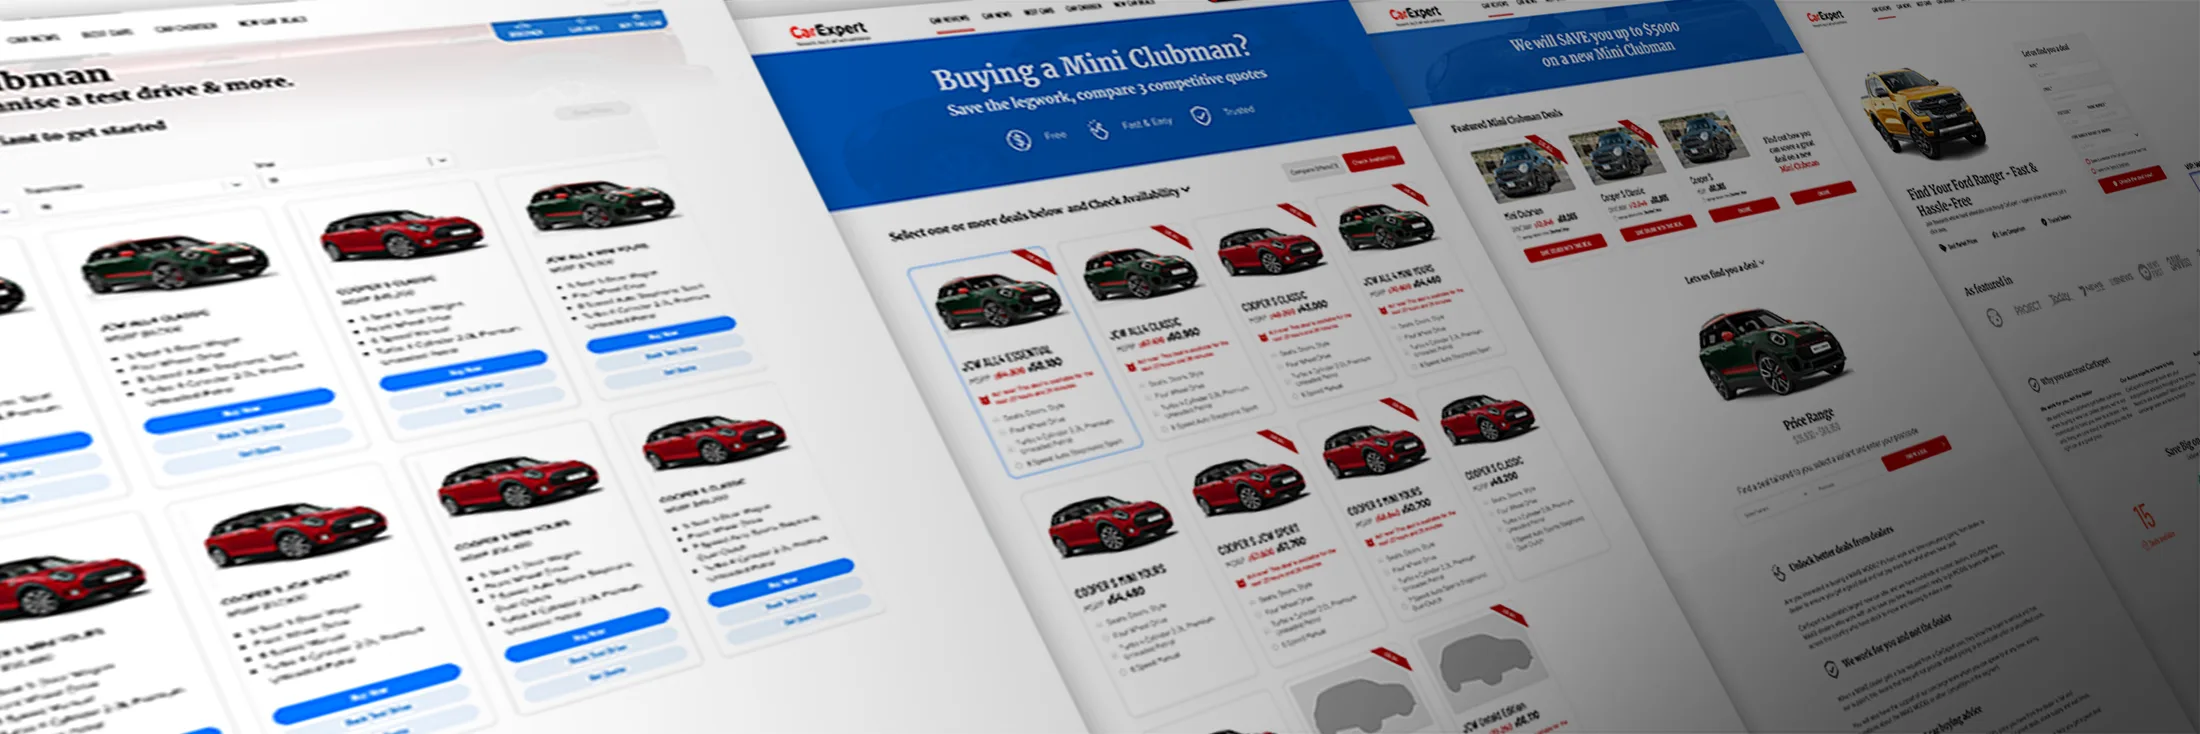
By the time I joined Canon, they had put a lot of work into implementing a content management solution that worked for all situations with any type of content. No development required. The trade off, when you work like this is that your flagship product will likely end up in a landing page that looks exactly like those products that are not first tier.
If we hadn't worked on the EOS R5 landing page the way we did, then the page would have had looked exactly like the sister product launch, the R6; just different imagery and copy. And the messaging we wanted to deliver would have been lost.
Process
1. Competitive Analysis
The first step was to ask key people what would be the best landing pages they have seen and why. I led a workshop that had members of the team present their landing pages and a brief overview of what they liked about it. People from the Product, Marketing and Design teams, and myself attended and contributed to this workshop.
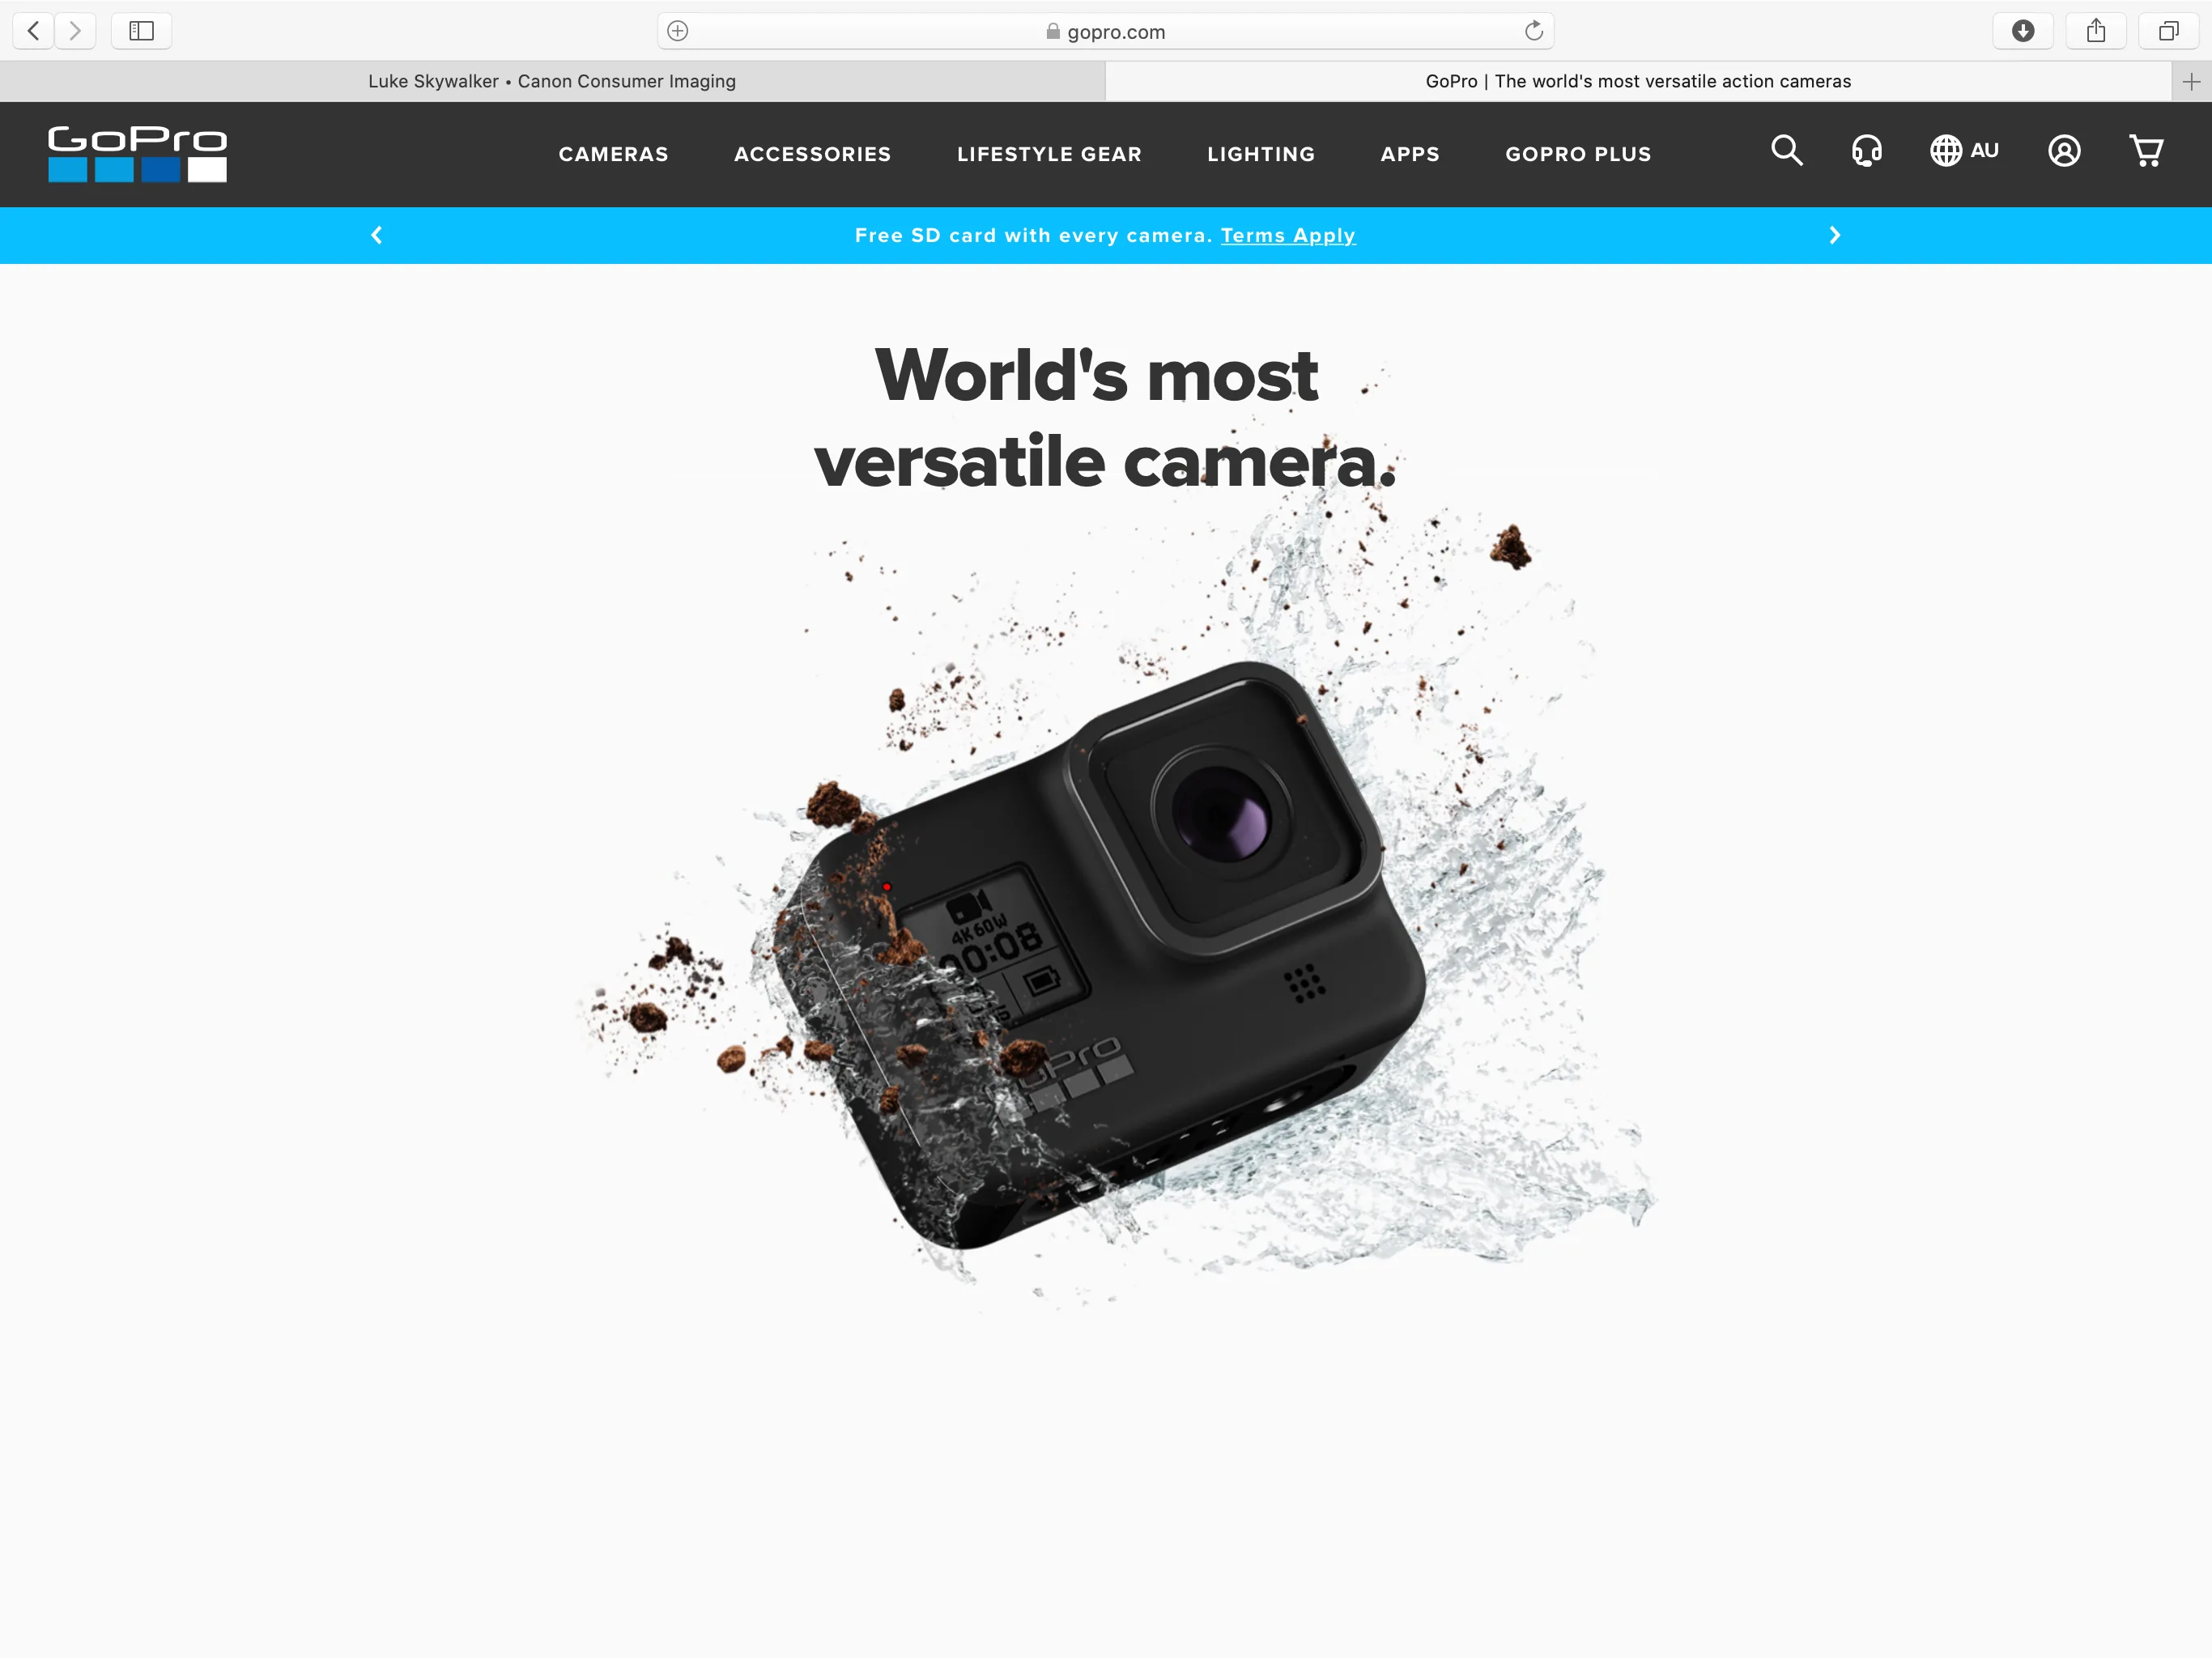
Source: http://www.gopro.com
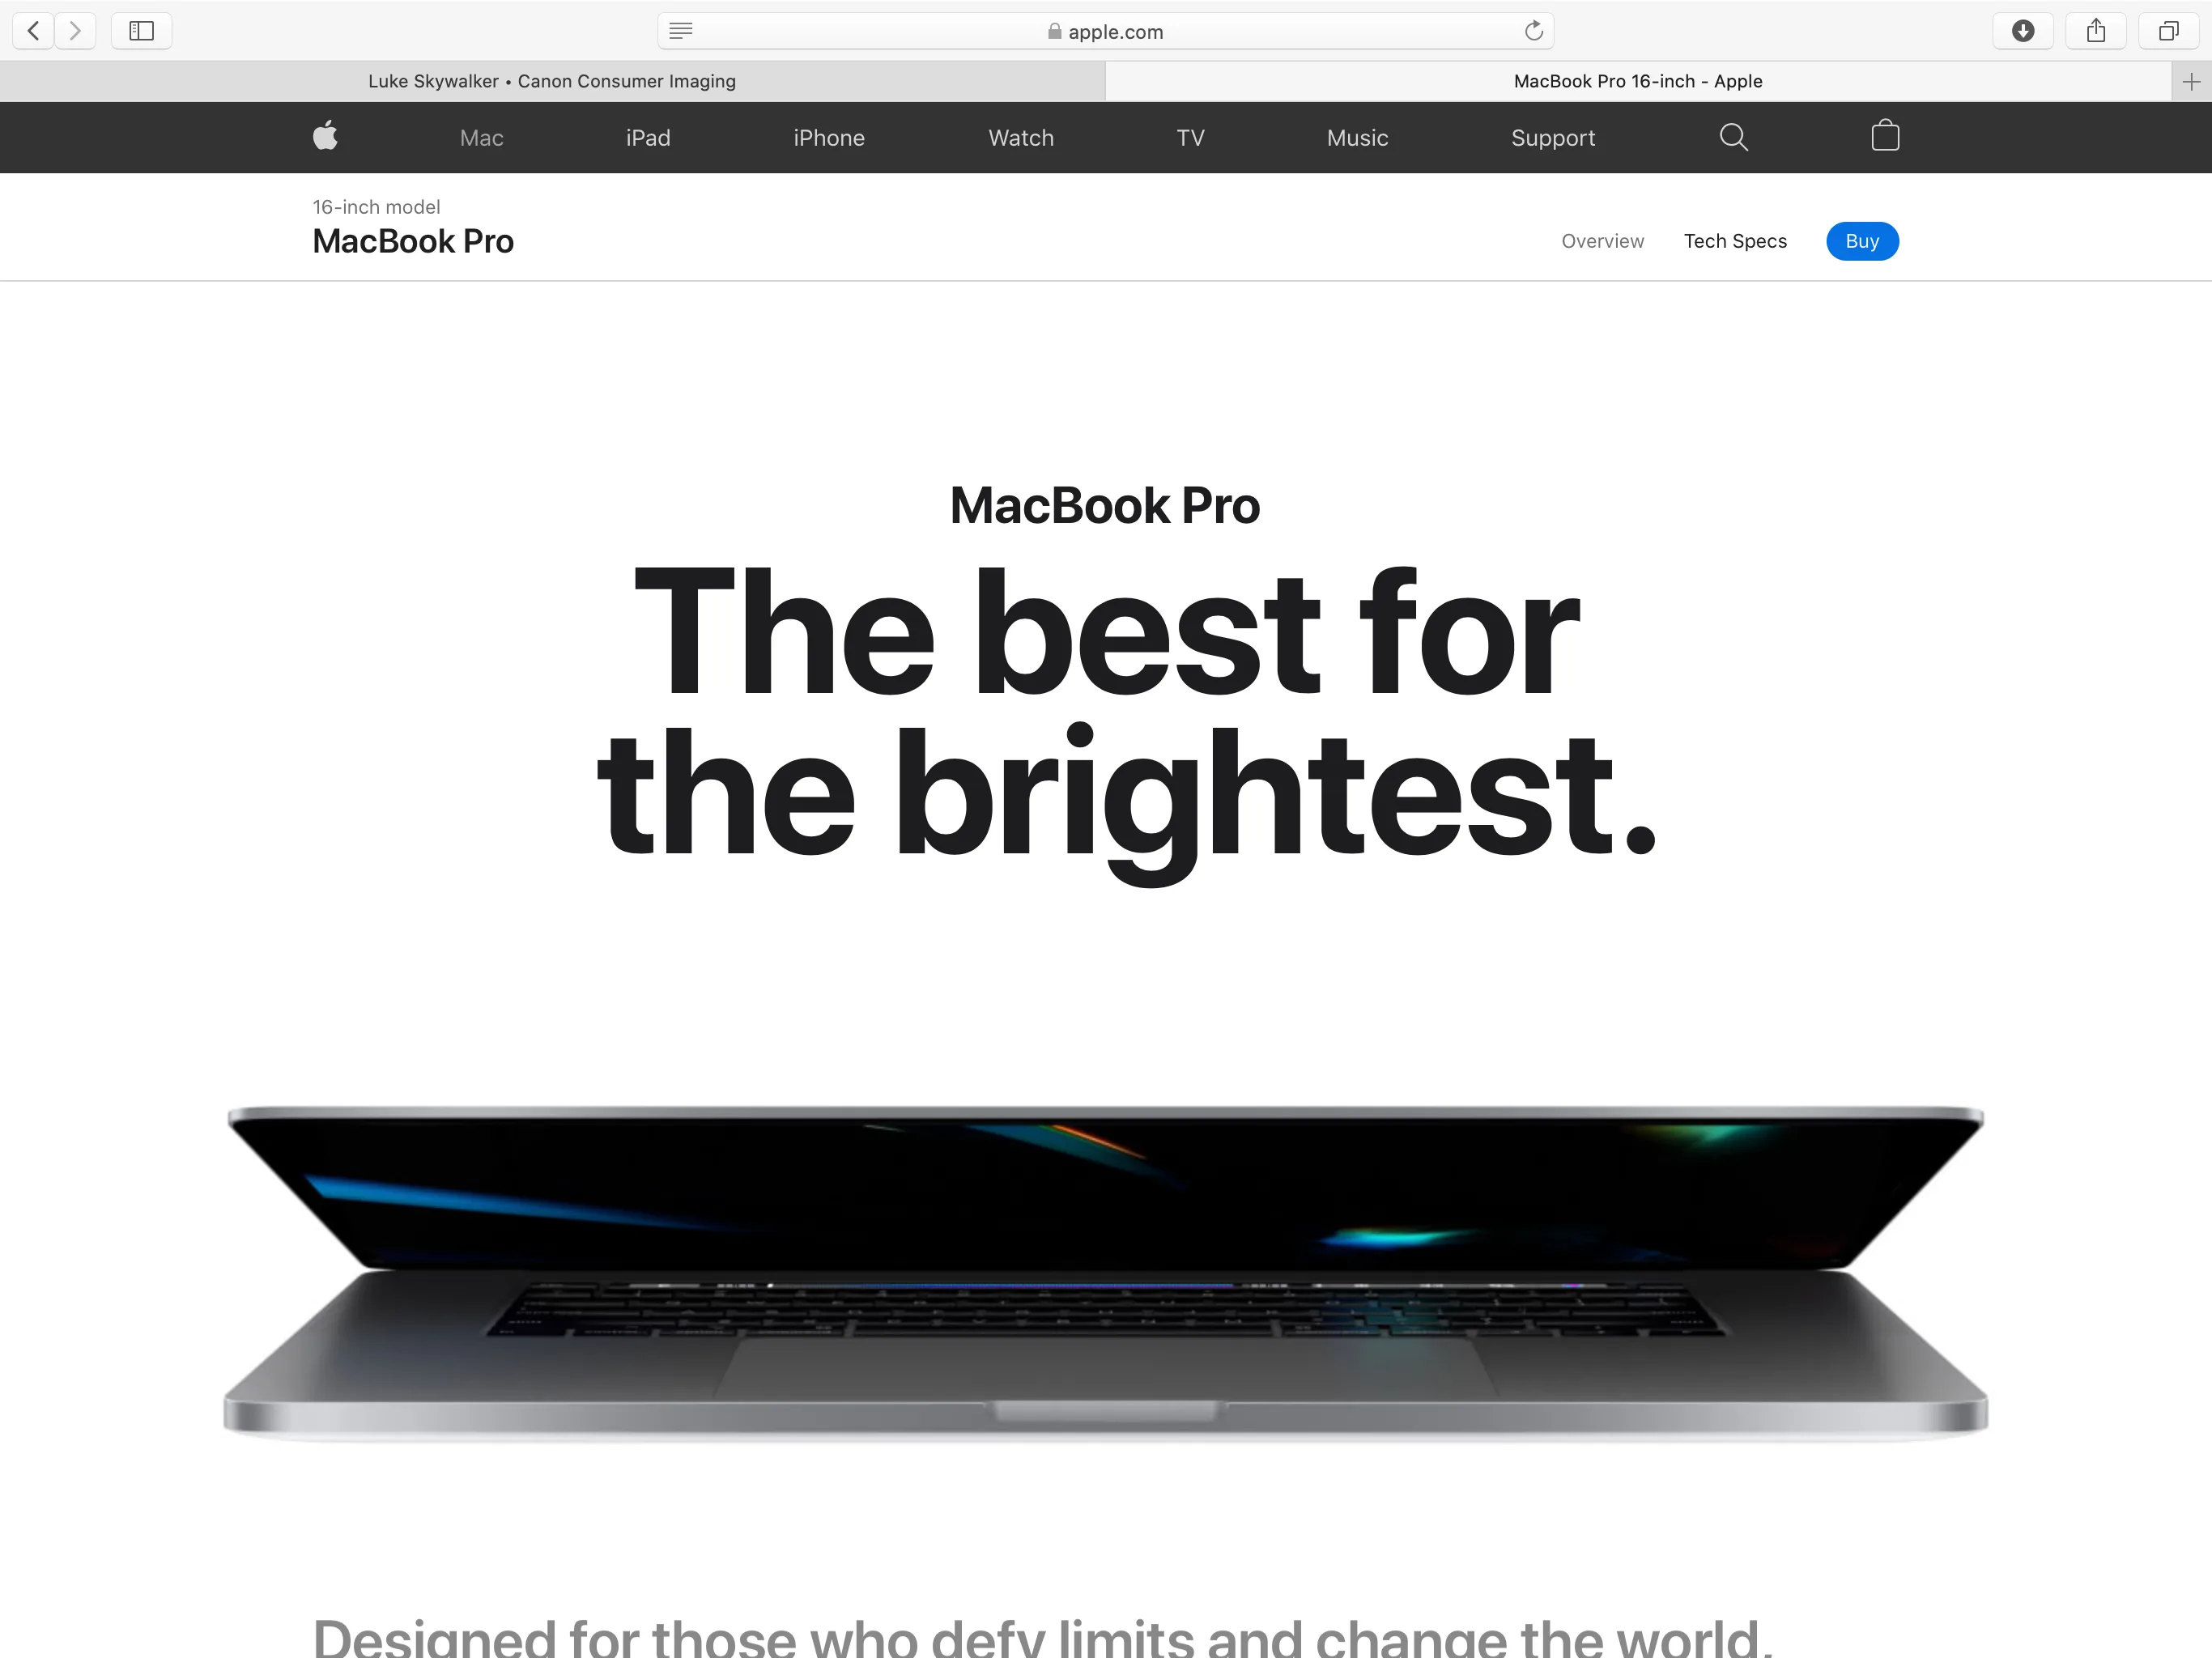
Source: http://www.apple.com/macbook-pro-16
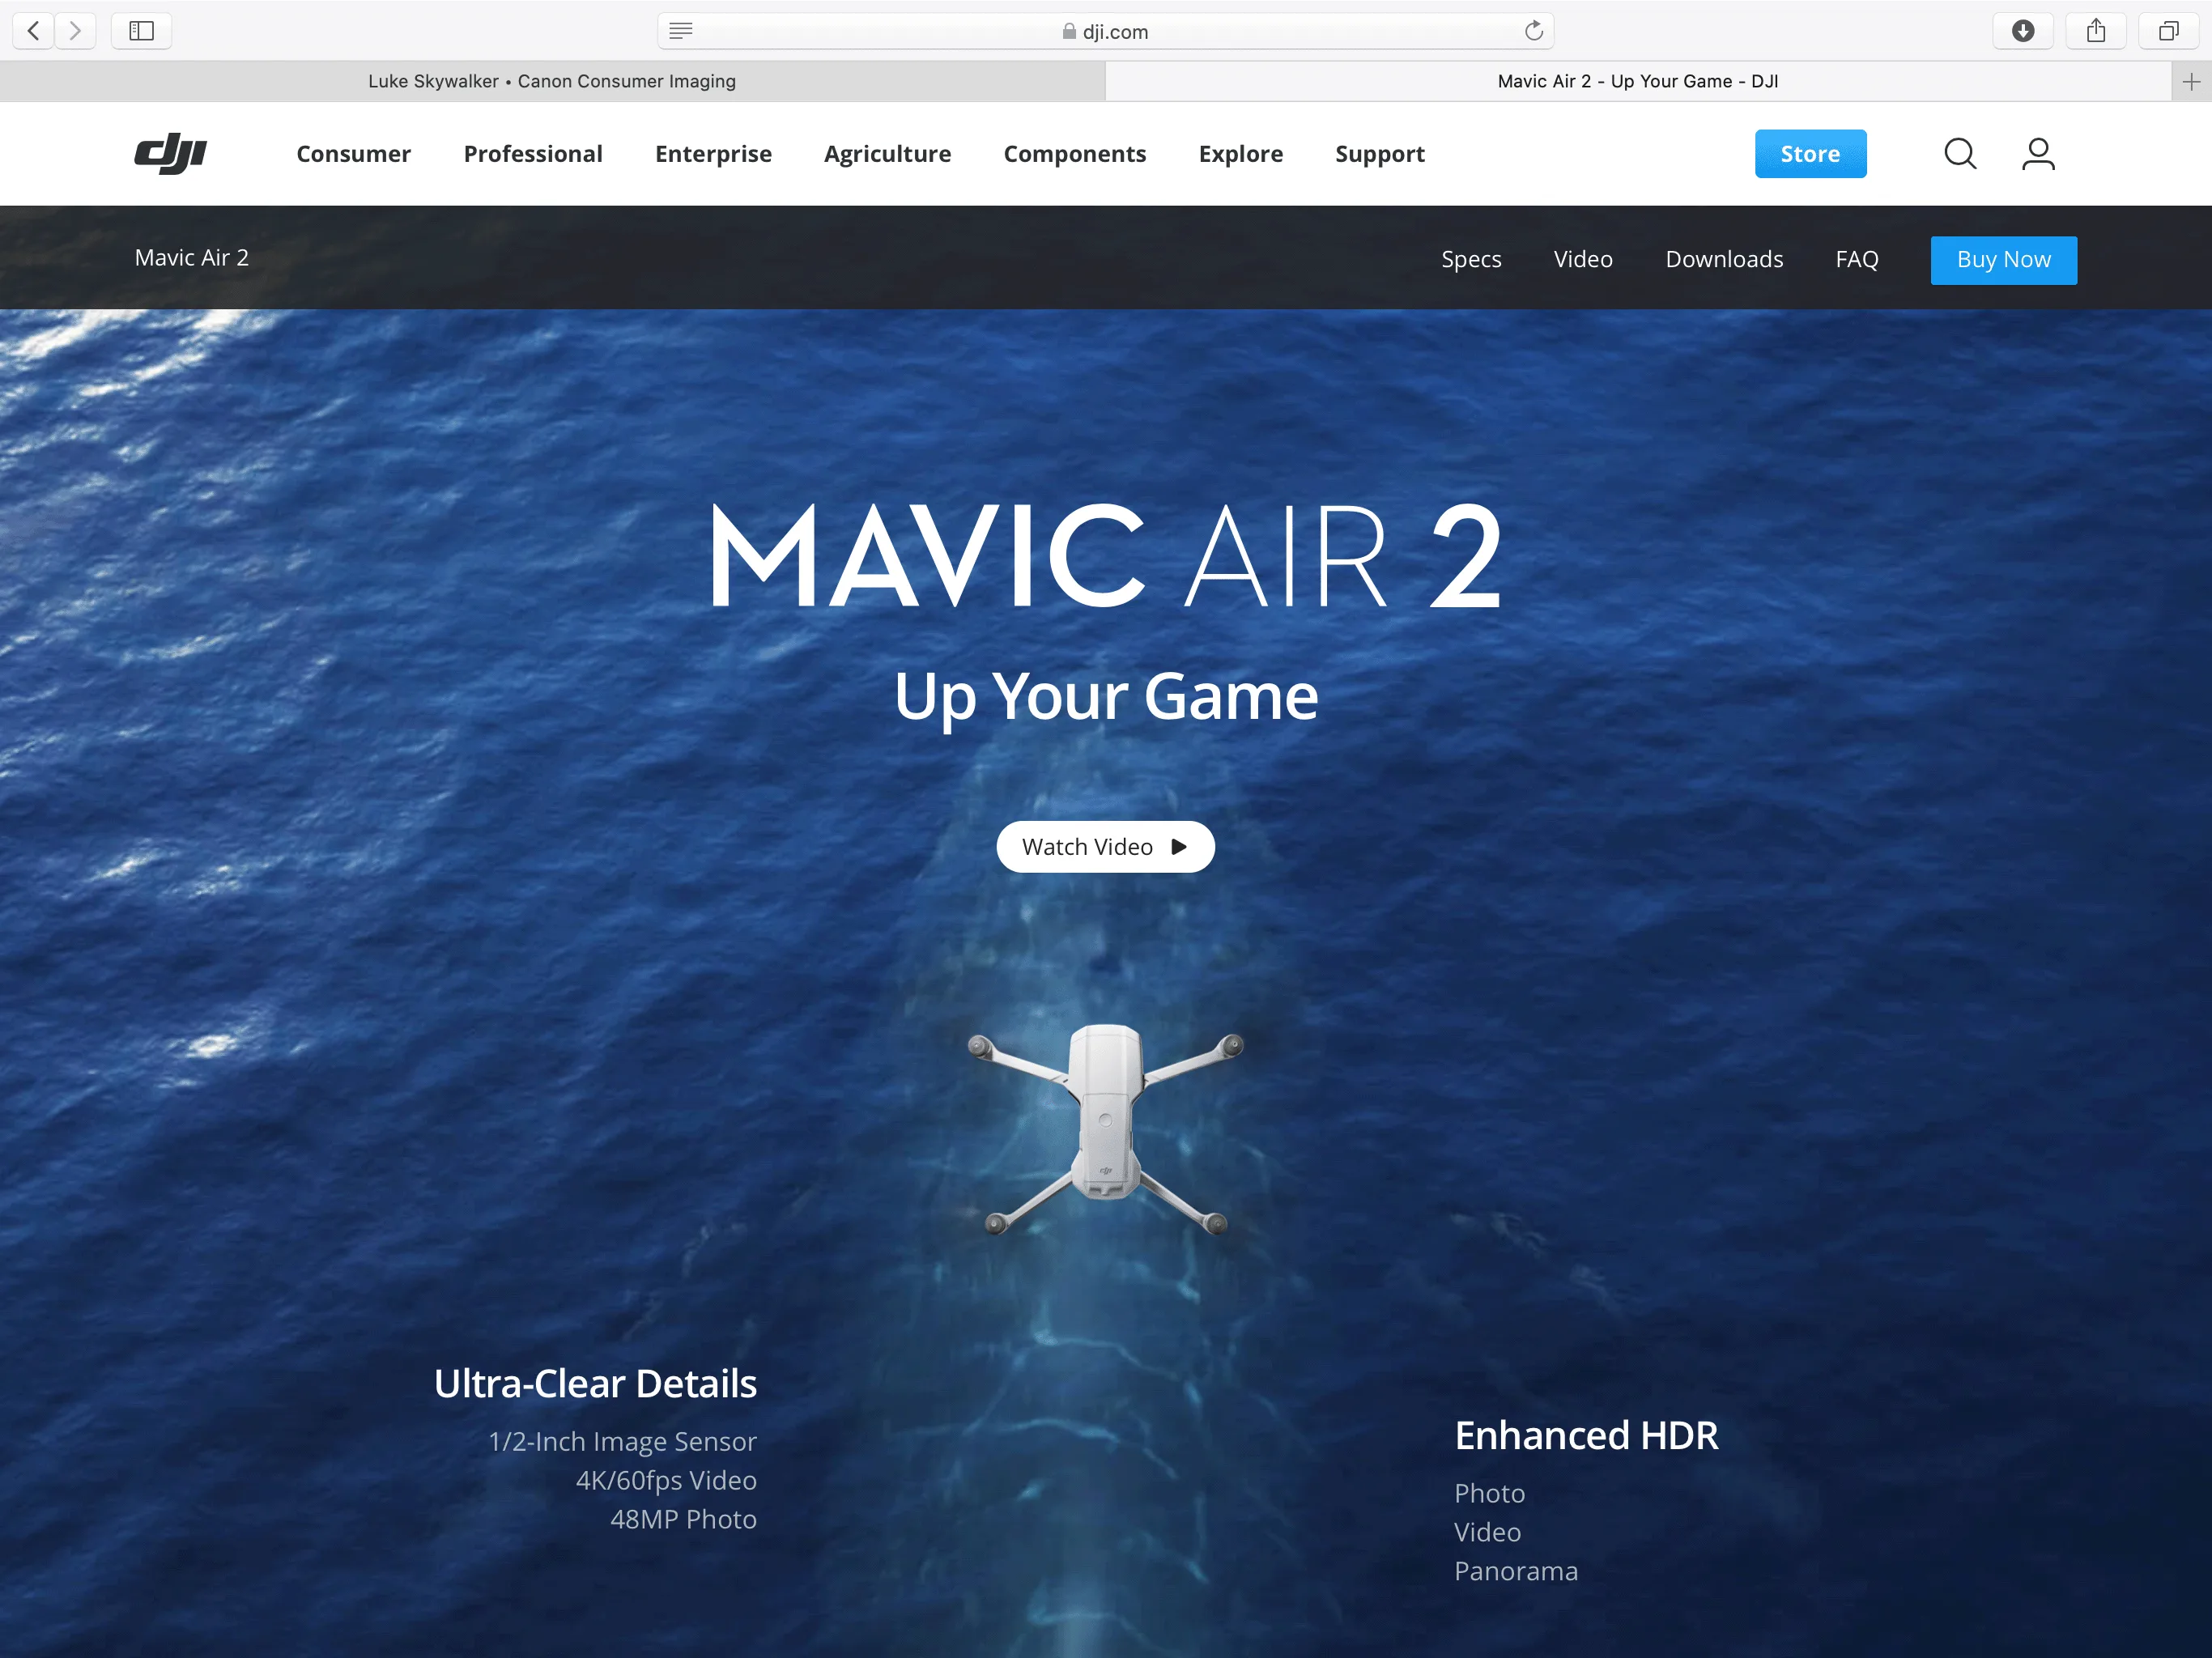
Source: https://www.dji.com/mavic-air-2

Source: http://www.nike.com/Air-Jordan
2. Translate to EOS R5
The next step during that workshop was for each participant to produce how that page they liked would translate to the EOS R5 page.
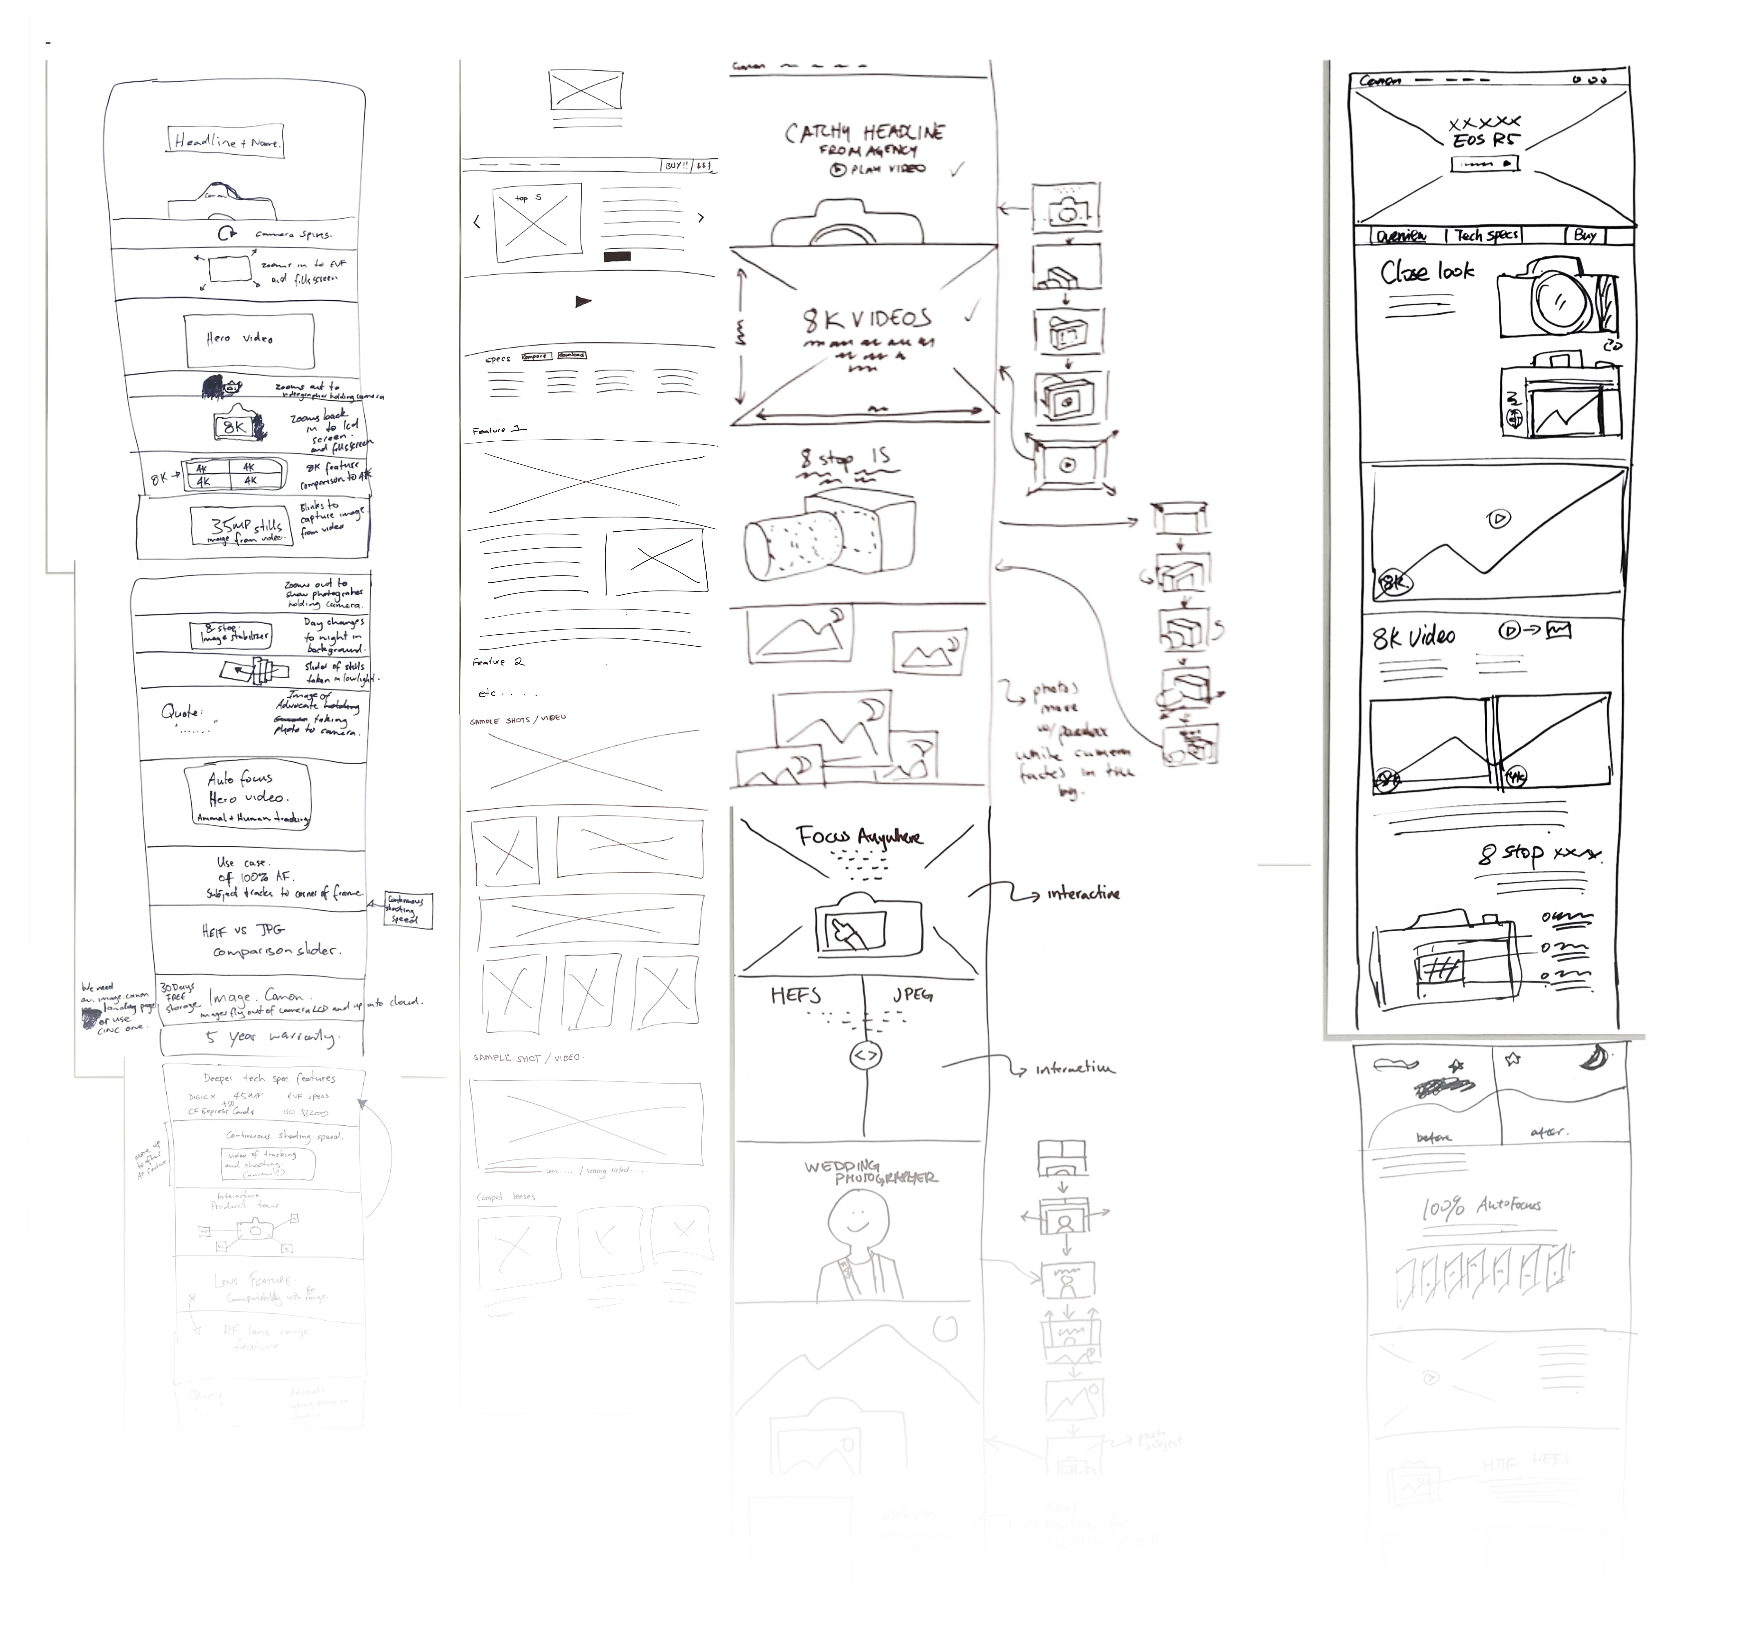
These were really long pages so we had to cut them down, but you can see the amount of detail they go into.
3. Abstracting & Consolidating
The last step, was to come out from that workshop with a sequence of headings that would give us an idea of the narrative that we wanted to tell.
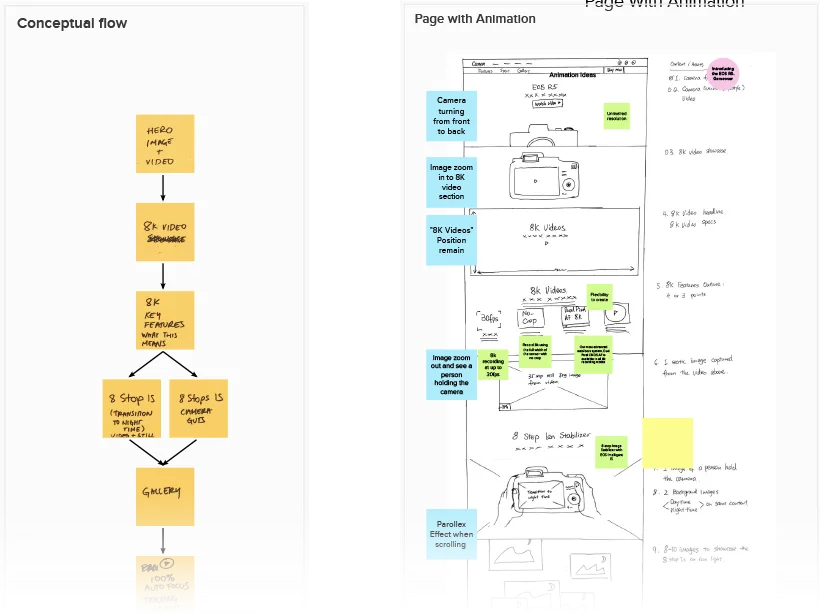
Conceptual flow (left) and Consolidated Wireframe (right).
For example in this meeting we noticed the patters from all different wireframes, and since they somewhat converged in the same messaging consolidation was easy.
Our take-away from this meeting was the EOS R5's fives:
Top 5 features showcase
Top 5 use cases
Everything else:
Additional Specs
Comparison between R5 & R6
Compatible Lenses & more boilerplate stuff.
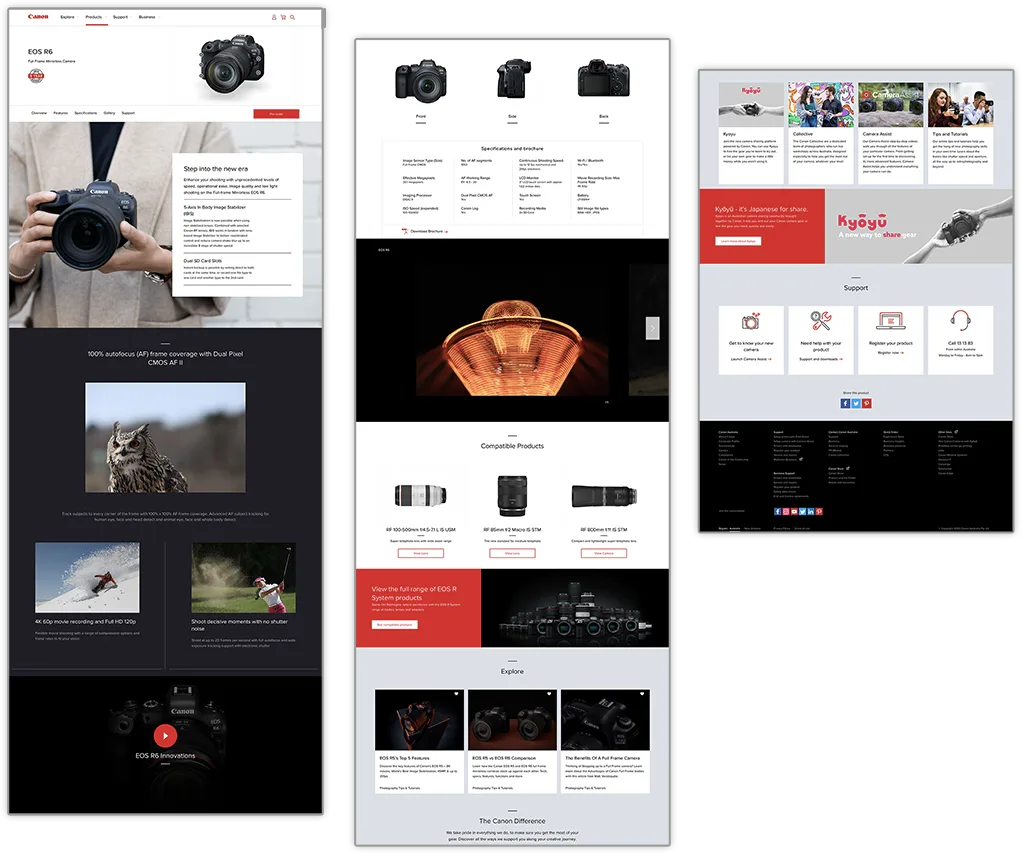
4. Wireframing
The final stage of planning the product page, was to create a guide to the responsive landing page. This involved creating desktop, tablet and smartphone wireframes.
Desktop wireframe
Smartphone (left) and Tablet (right) Wireframes
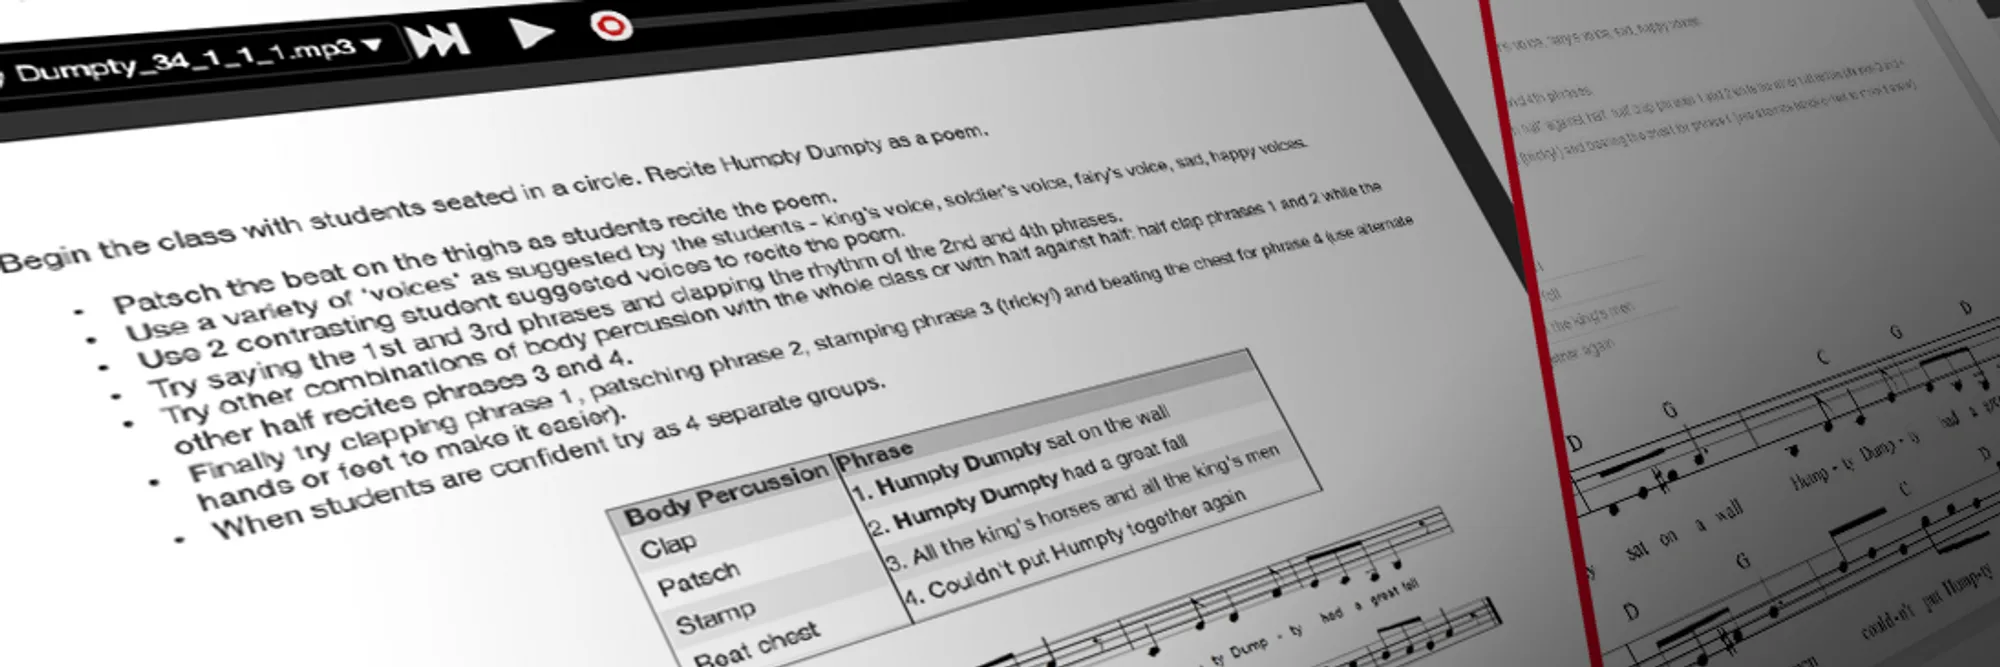
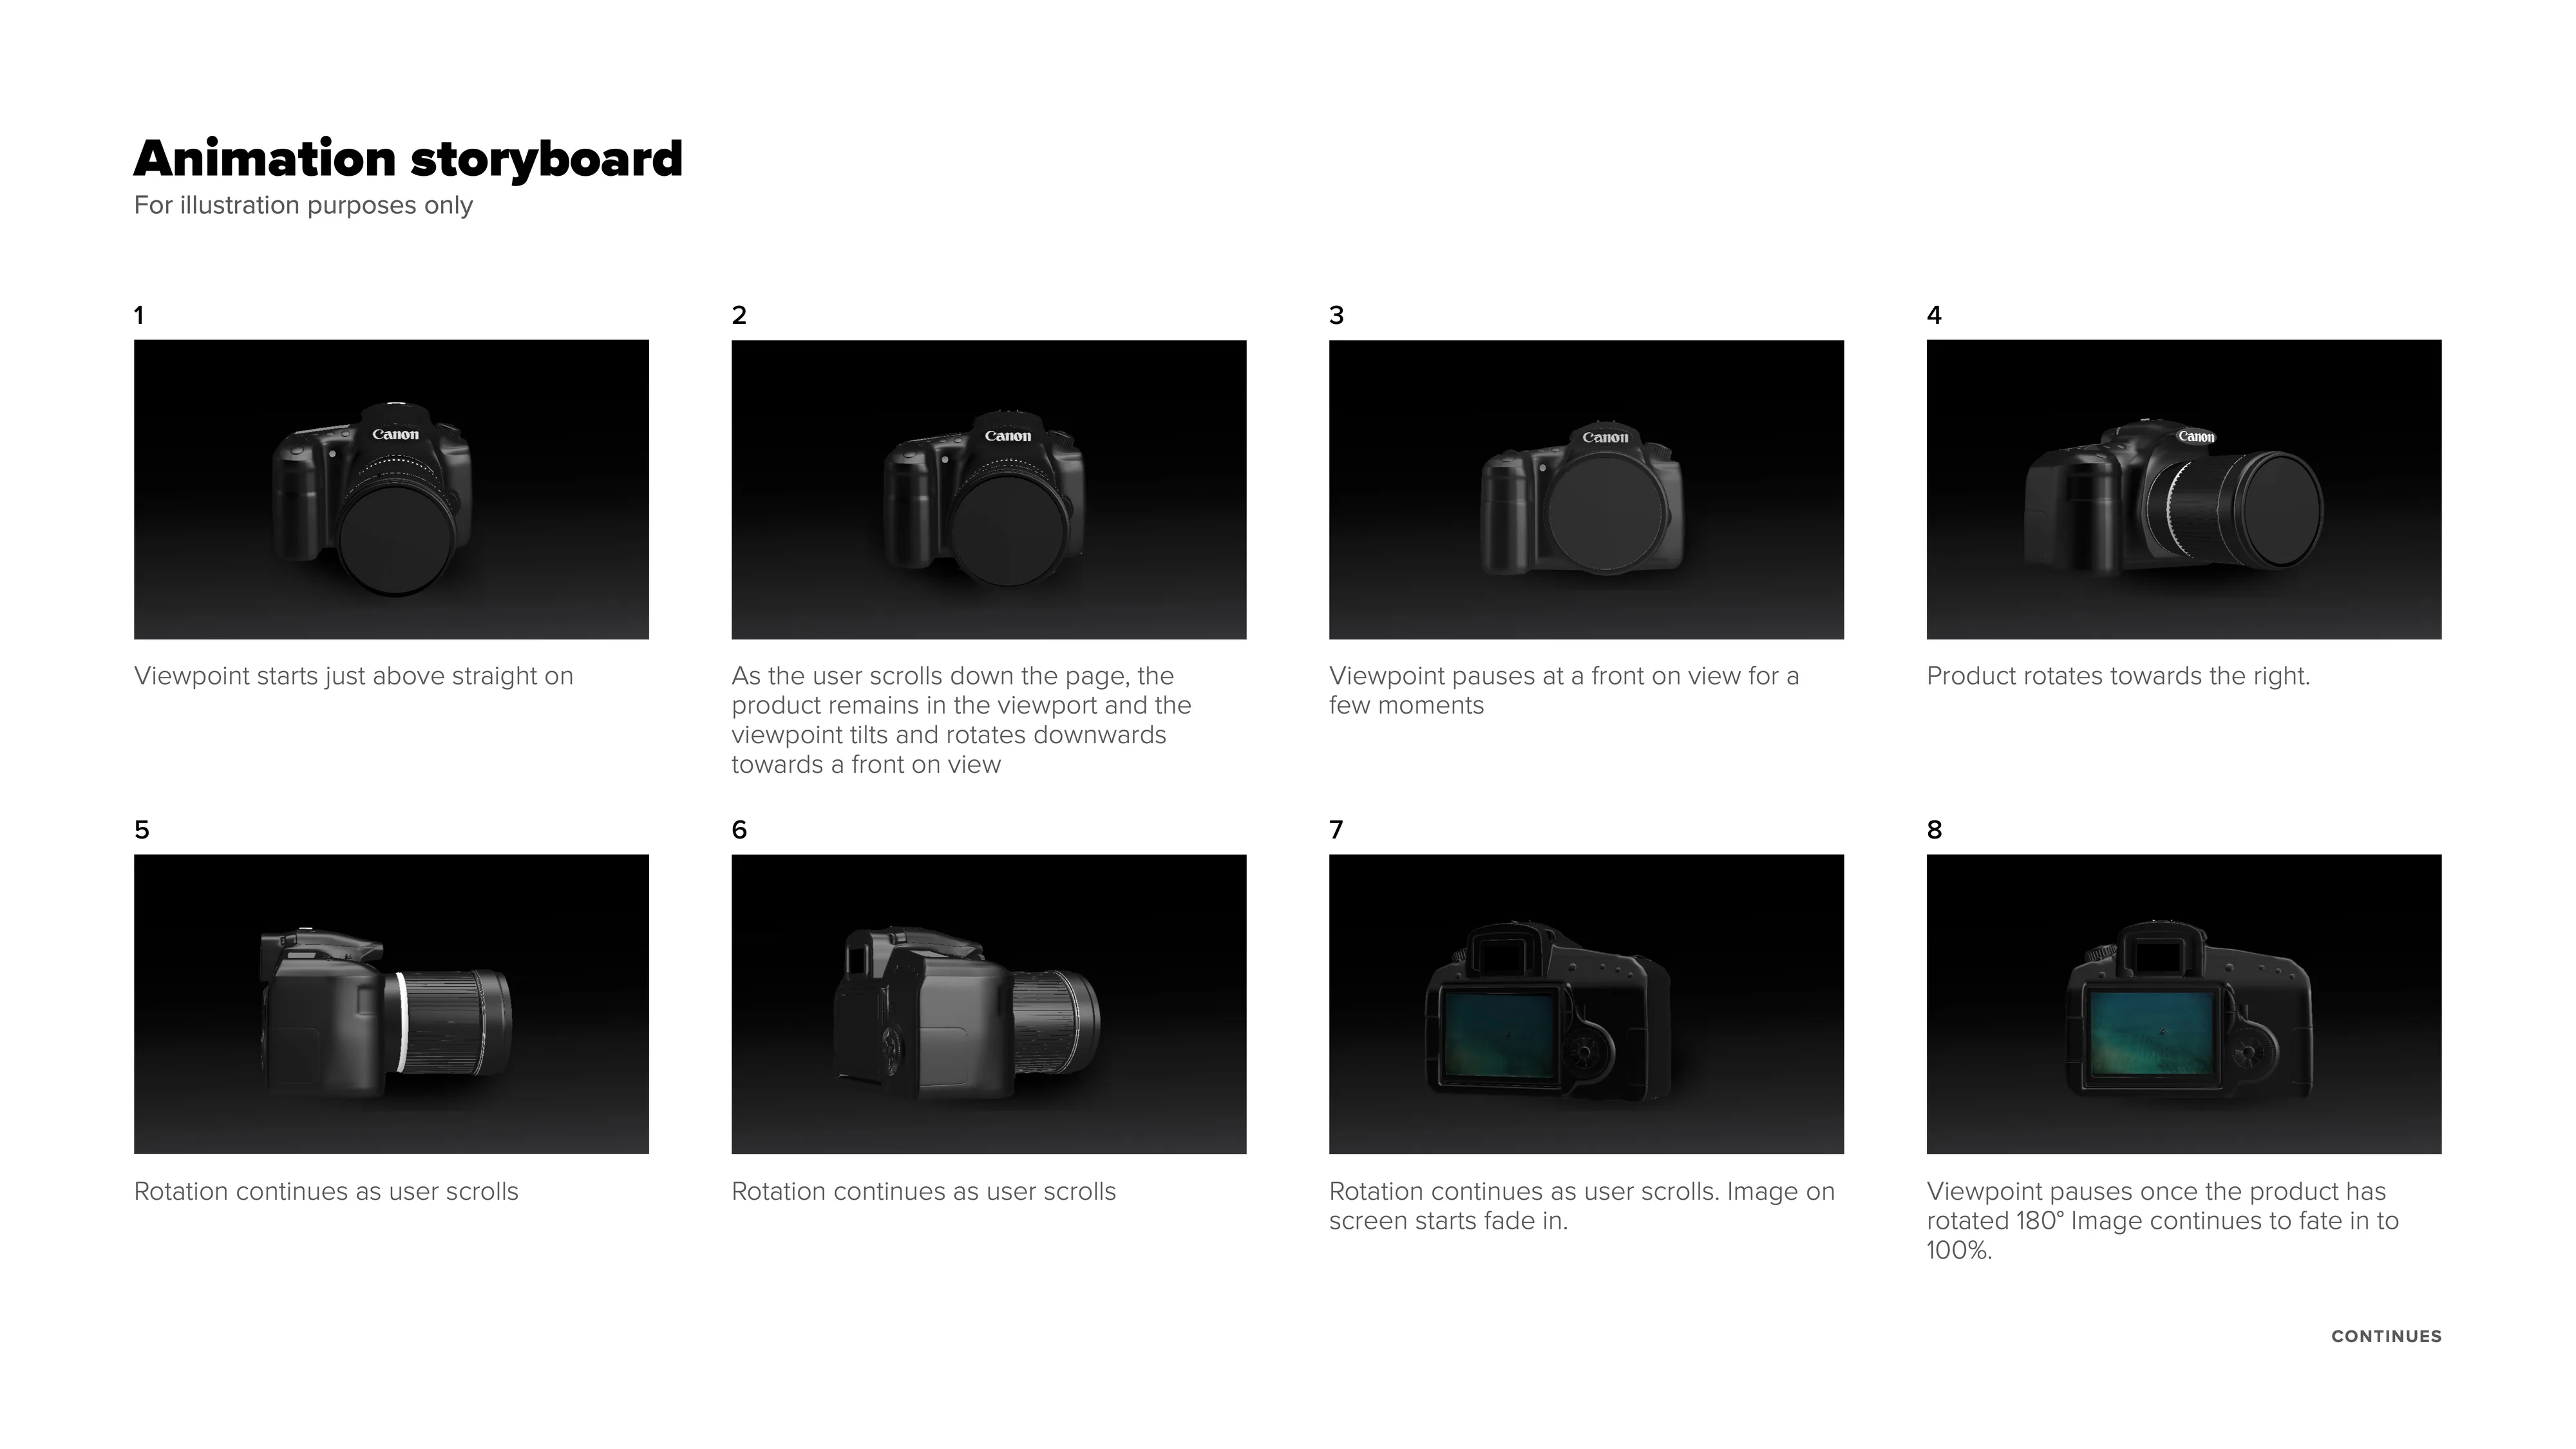
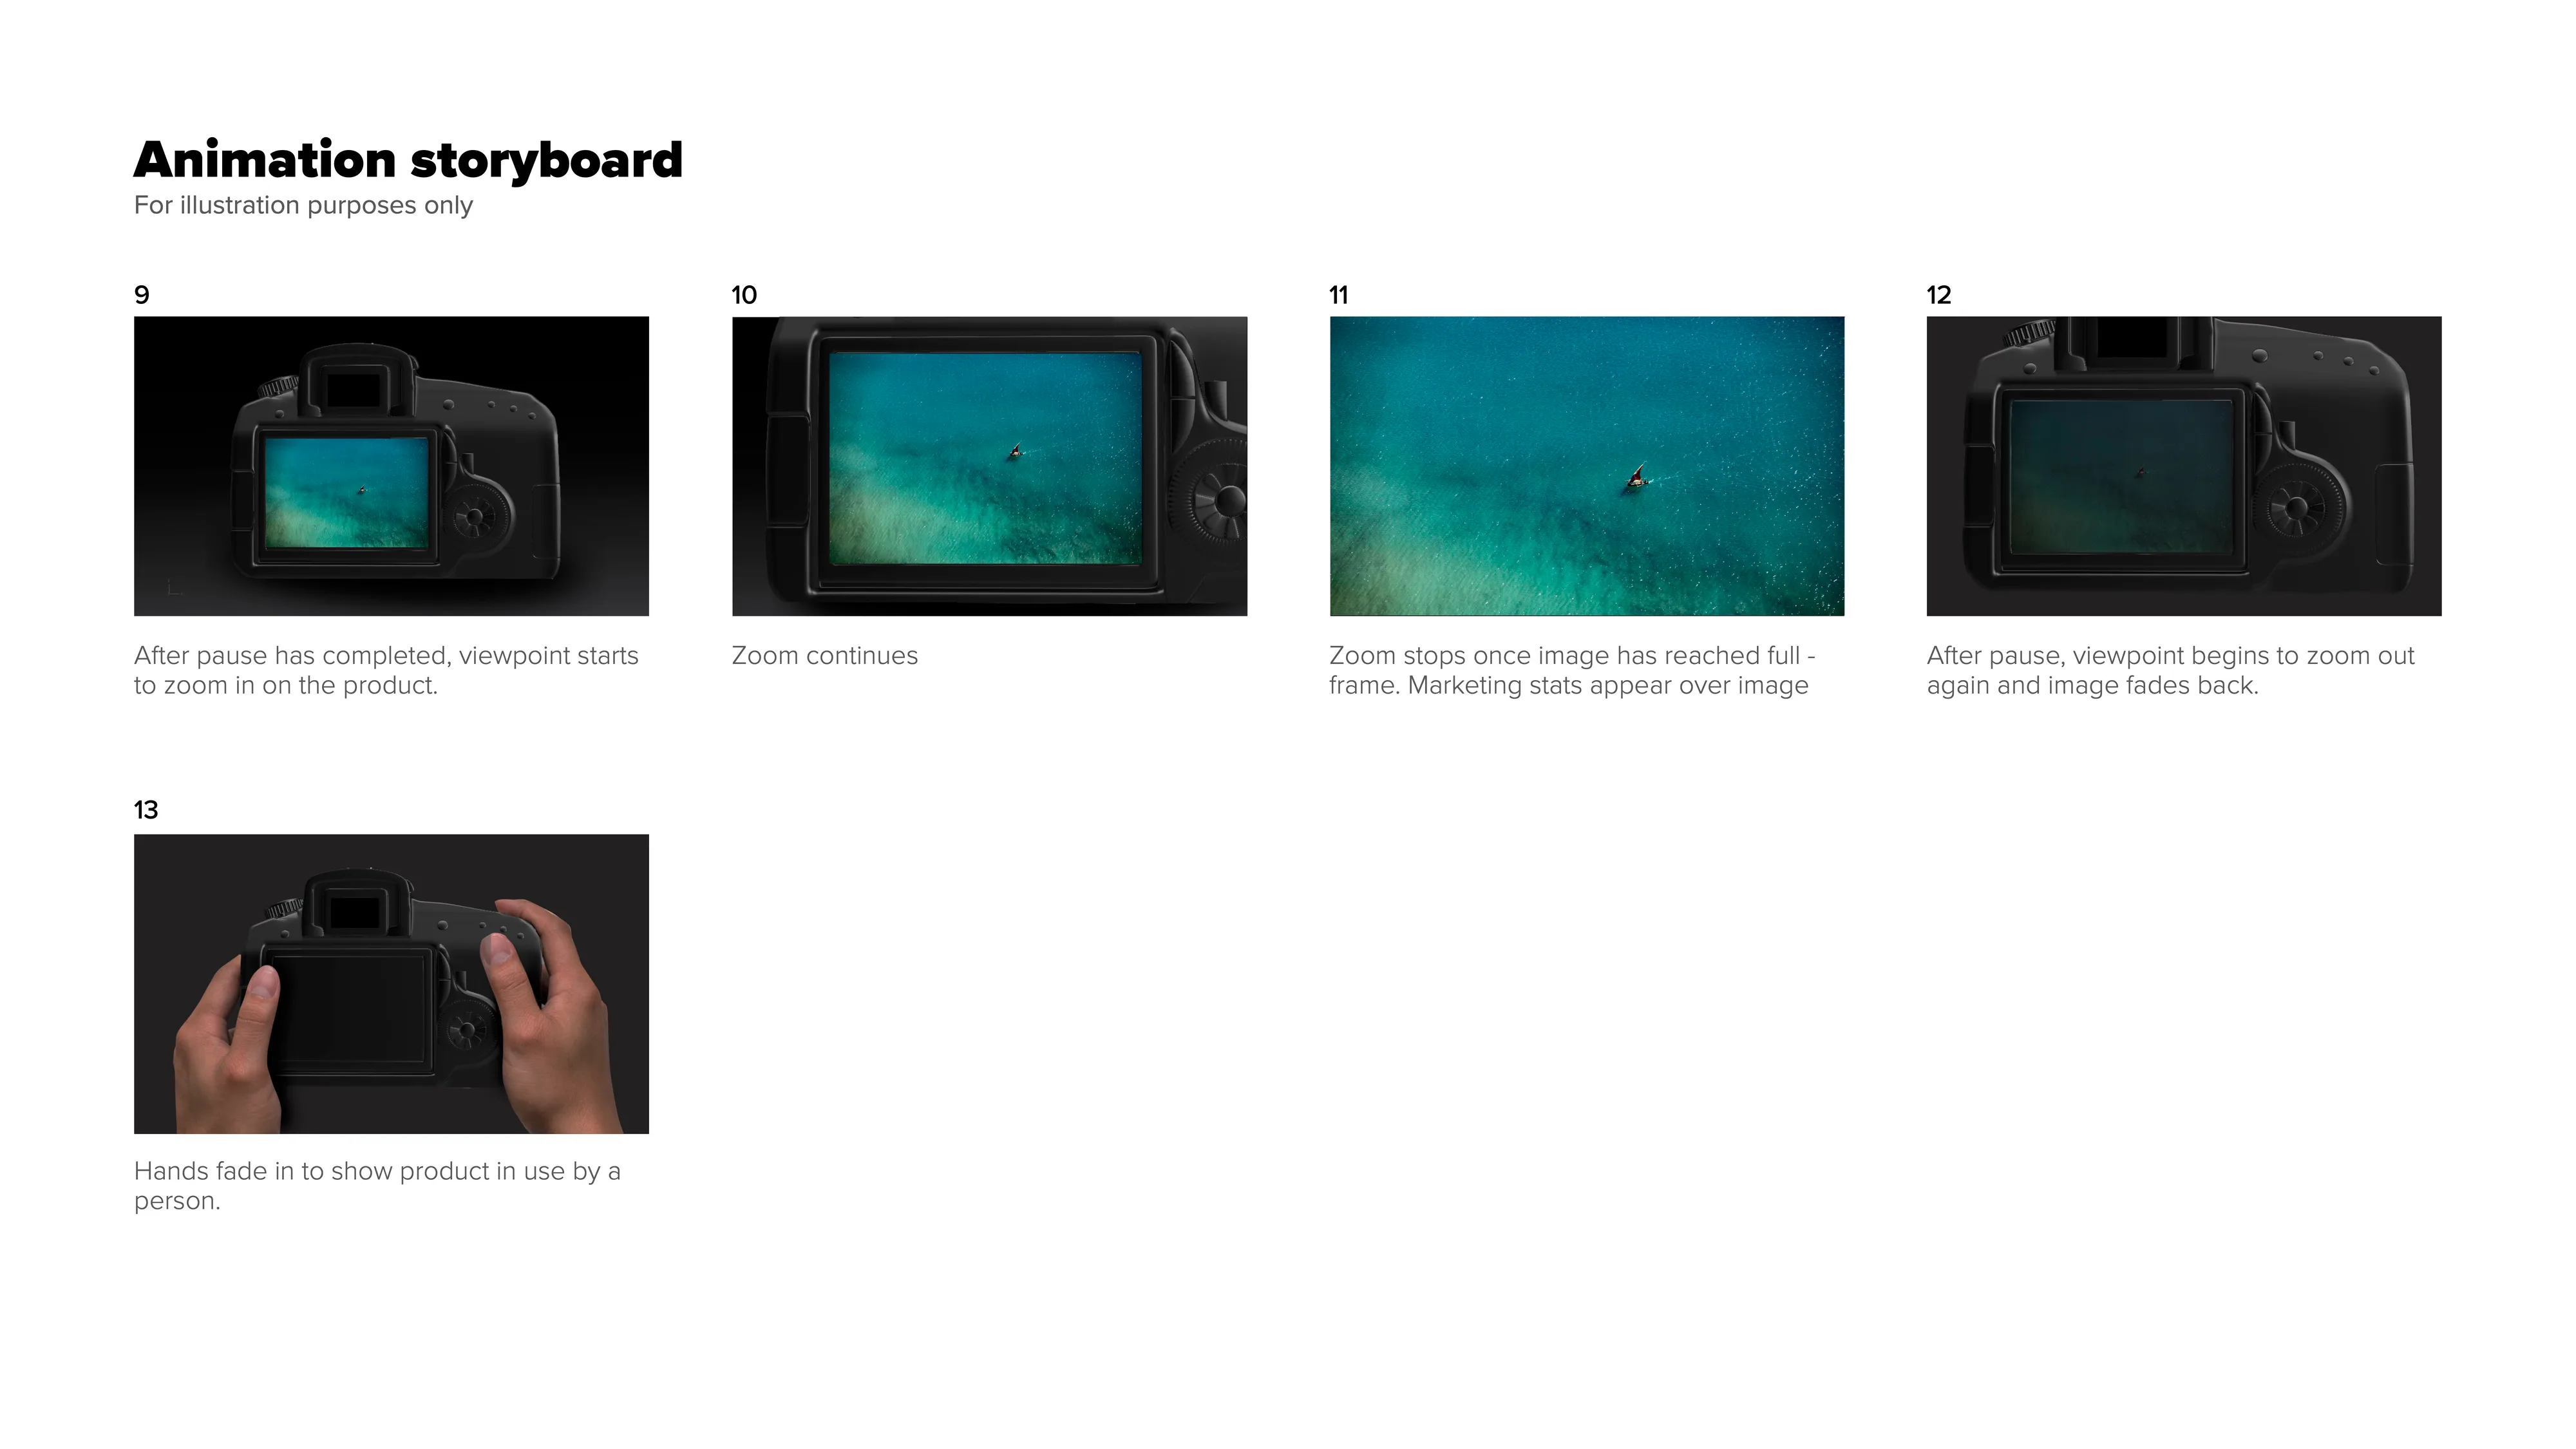
5. Storyboarding
I pitched the idea to Jamie F. the Senior Designer in the team, that it would be great to have a storyboard of the whole sequence. And in his first week (a weeks into the project) he produced this storyboard, which was pivotal for explaining the animation to the development team.
Production
Perhaps the most amazing part of the process, but also the most challenging and stressful one.
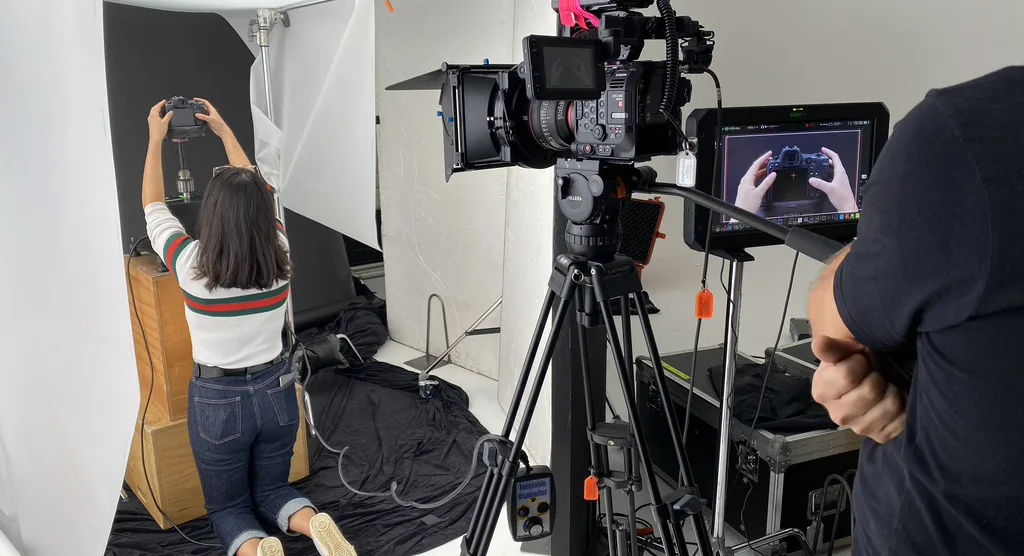
Camera Rotation
The landing page starts by rotating as-you-scroll on the website. Which meant that we had to create a 360 degree rotation of the camera. In the images below you can see the crew taking the video that we would use on the web-page.
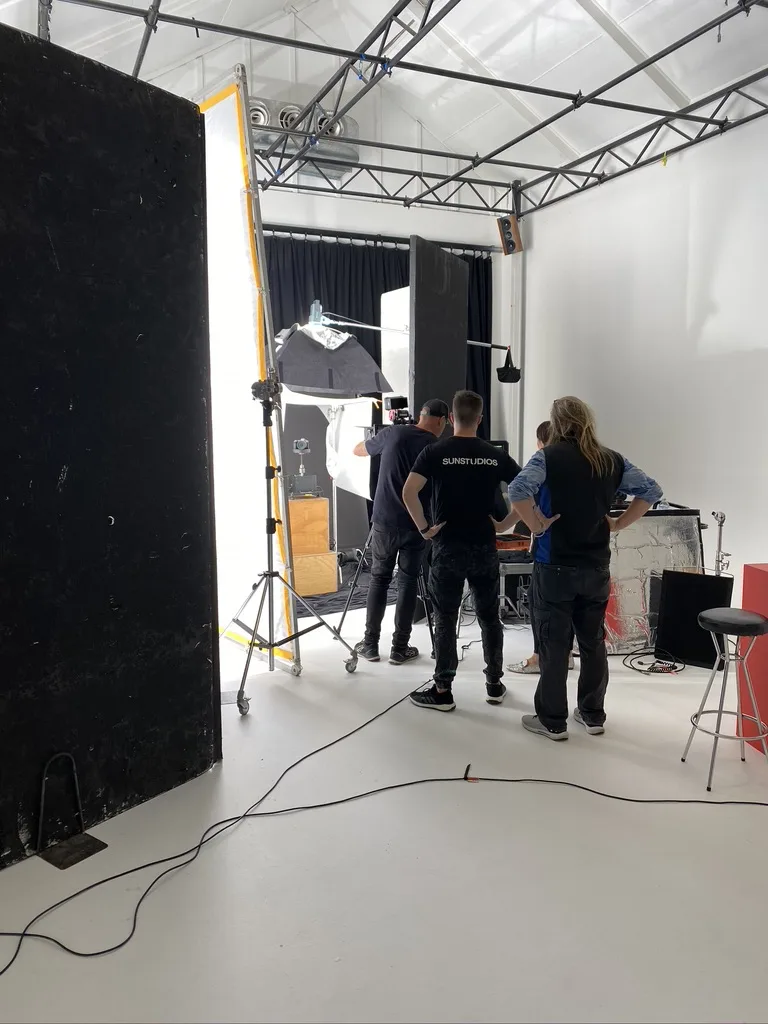
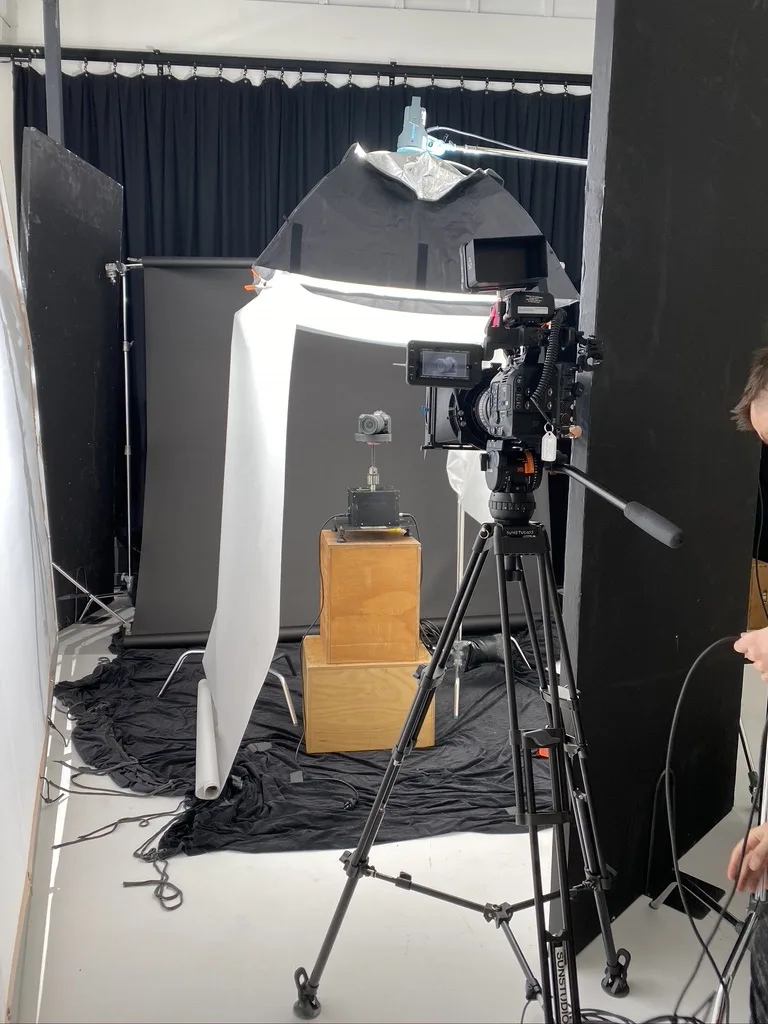
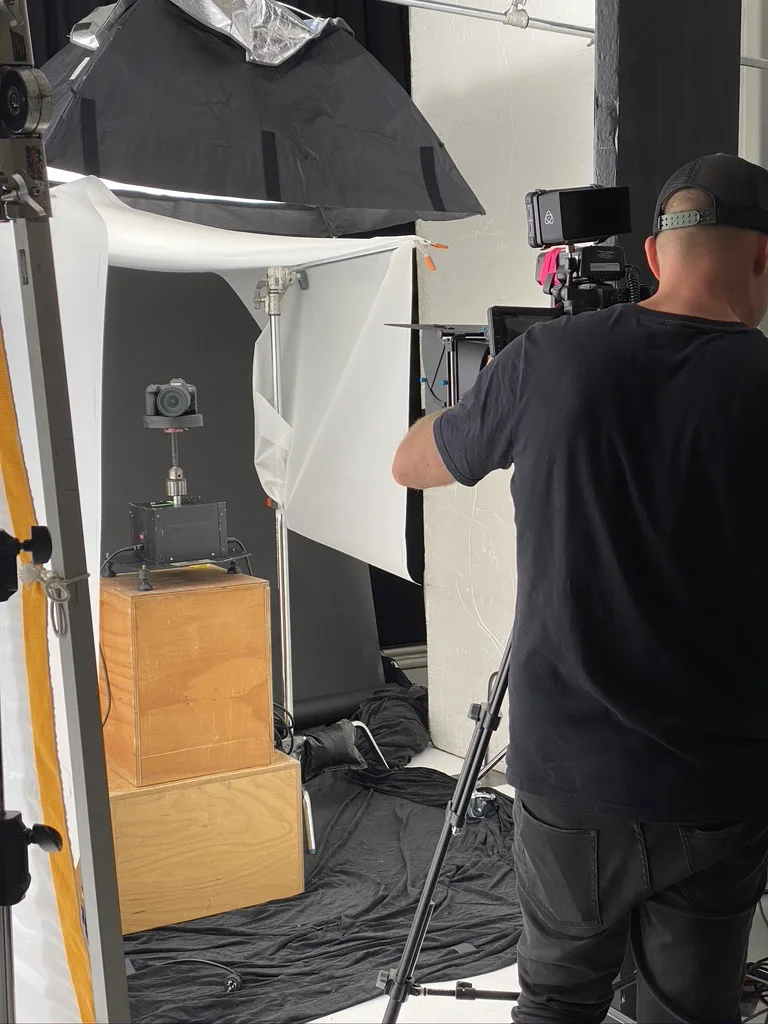
The outcome of the process below was a video like the one in the GIF below.
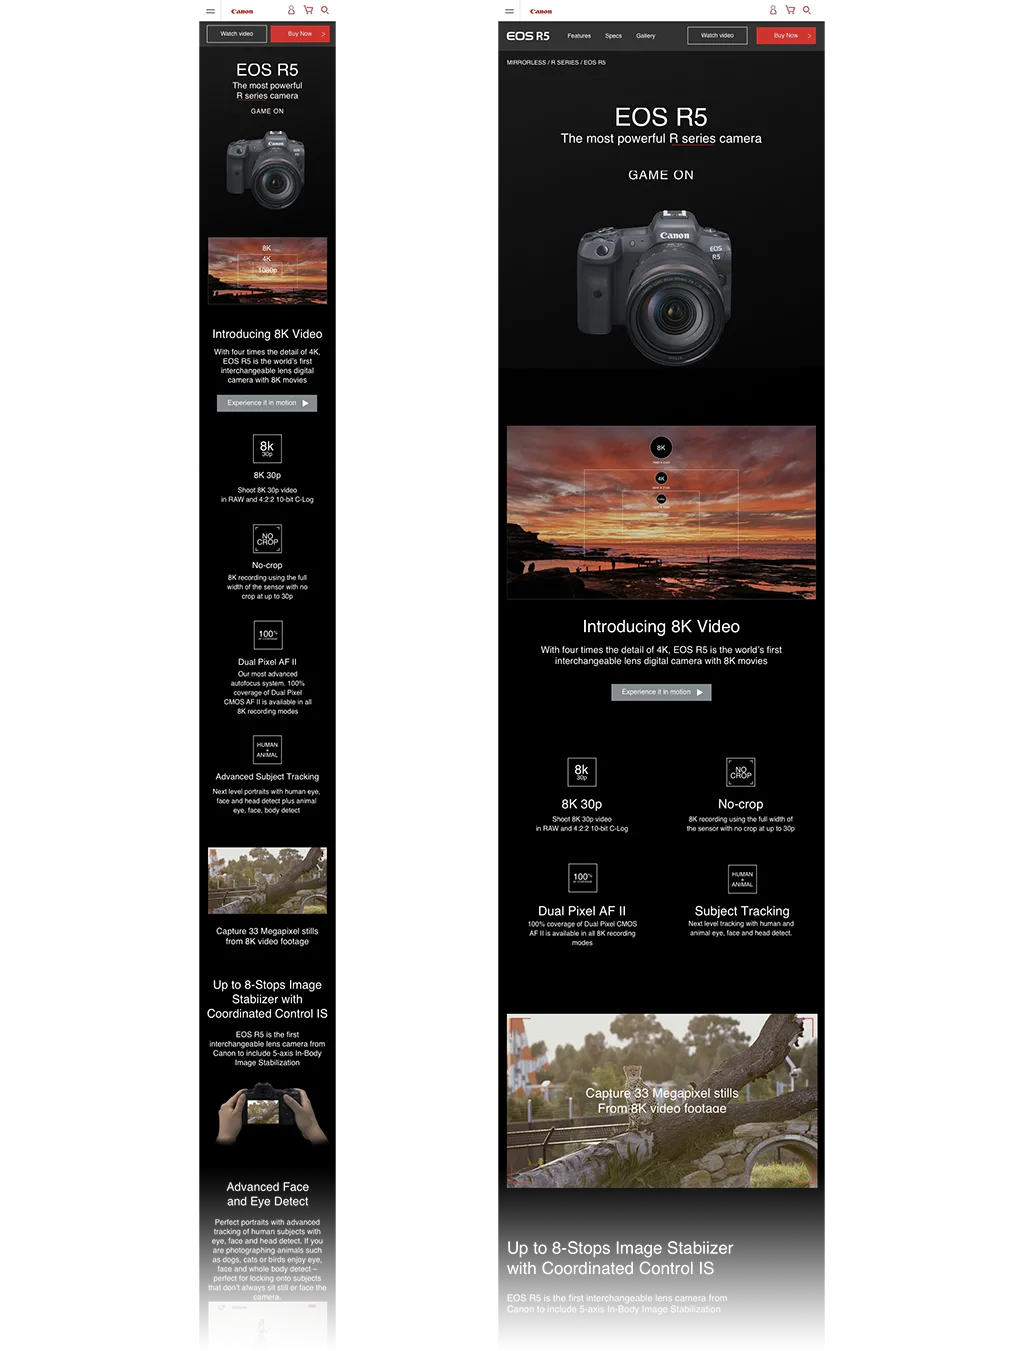
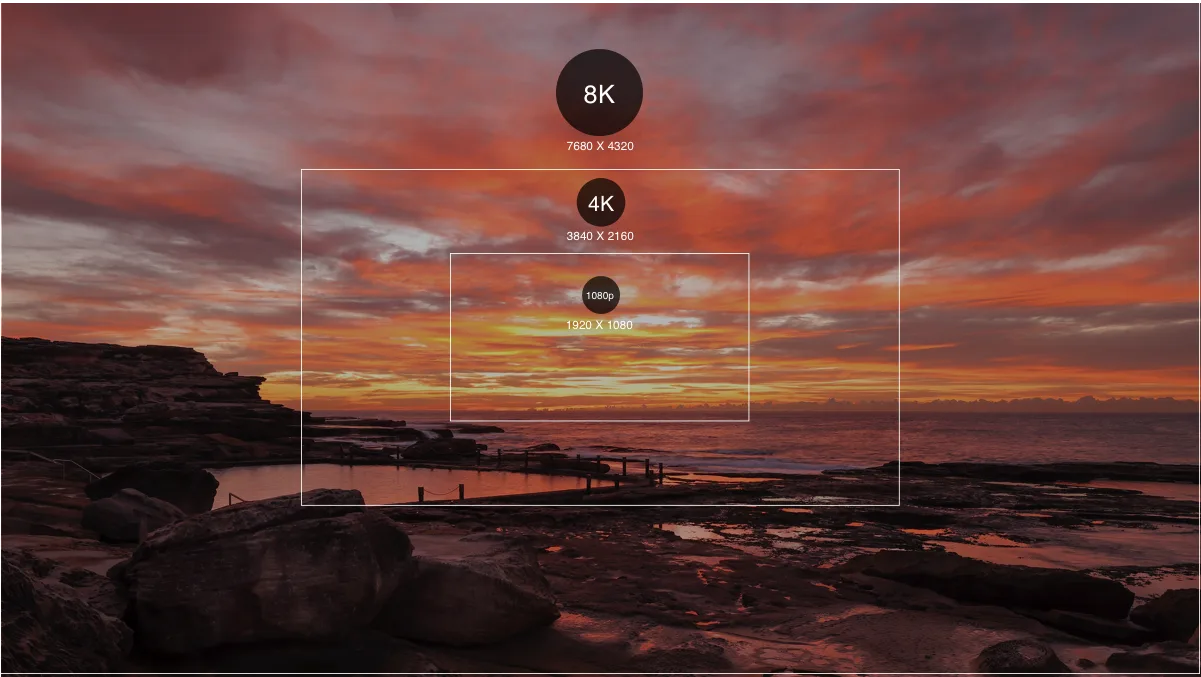
Although we didn't want the camera forever rotating on the webpage, but we rather wanted the camera to show us how 8K videos were shot in this camera. Therefore we did the following transition.

One of the narrative problems that we had to face is that the web, even on retina display, is perhaps not the best place to visualise 8K uncompressed video, so we had to think on another way to showcase that. So the image below became the end frame of the transition above.
Camera in Hand
Another aspect that we wanted to pay close attention to, was to how it feels to take a photo with a real camera, which resulted in the shot below.
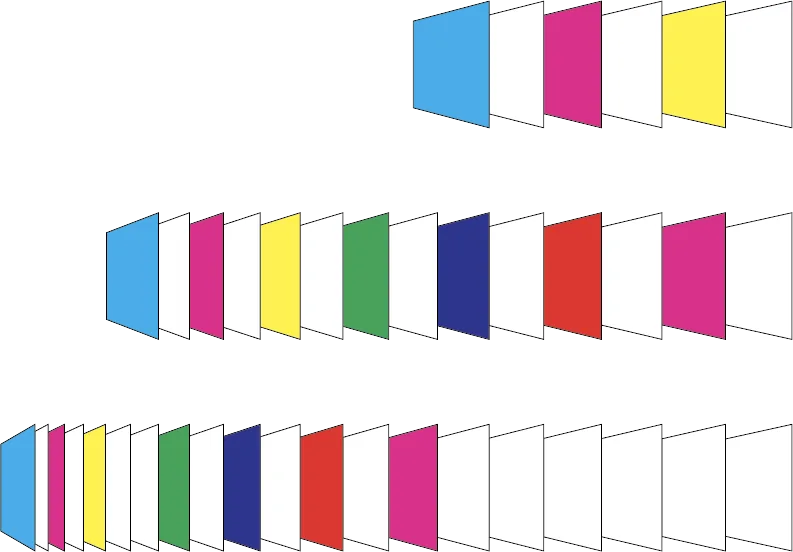
20 Frames per Second
Another challenge we faced in our narrative was, how can we tell the story that we can shoot 20 photos while keeping autofocus and autoexposure on.
One of the designers came up with this idea, but it turned out to have a couple of challenges.

- First it took a few iterations to get right.
- Should it move left to right or right to left.
- How do the frames move
- Which ones are on top?
- Communicating to Developers
- This animation is particularly dense in details, so delivering it right programatically was a challenge.
- The framework started struggling with the speed of the animation.
After getting our producer to colour-grade the photos, our senior designer, Jamie F. nailed the animation in after effects and it was what we ended up going with.

Asset Kanban
Working closely with a great bunch of people made it a breeze (at least for me) to delegate and relay on people's experience for their creativity and drive.
Nontheless, the visual examples of the camera's features were many, and not only quality had to be great, but it had to be reviewed, and approved in a quite hierarchical and complex environment, not for the faint of heart.
So for each Copy, and Creative asset we had four different stages:
- To do
- Doing
- Final
- Approved (thumbs up by different stakeholders)
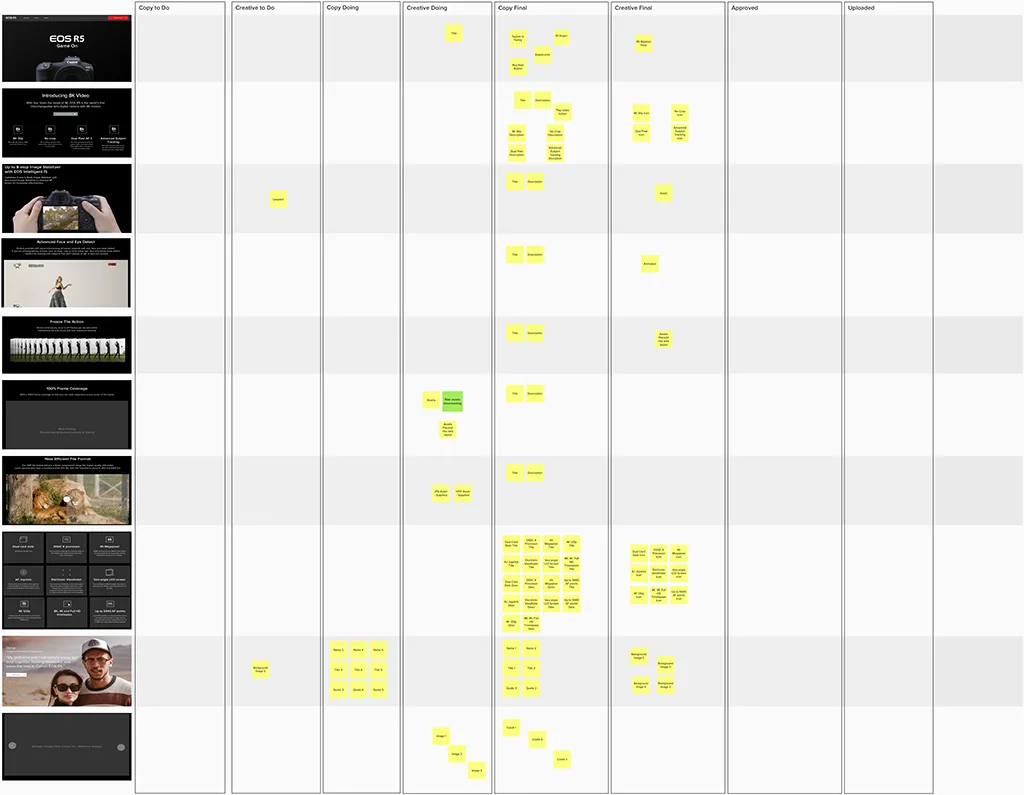
Kanban board for the 100+ assets or copy we had to produce for this page.
Only this level of control allowed to have a clear understanding on what was left to do in this project without having to review the page multiple times in its entirety with multiple people.
Learnings
In hindsight this project was great, but it wasn't easy. It also brought a lot of insights into what we could do better next time.
Timeline
Environment. Canon had only the camera for a few days in order to take the sample images and the camera assets and the camera also arrived really late in the development process.
Risk Control. We attempted to make assets as fast as possible, but the odds were against us. When we noticed that changing the asset, even by a little bit could break transitions and animations we had to adapt and look the things we knew were unlikely to change and develop those first.
Side Effects. We had to work with placeholders for the majority of the project, which had an adverse effect on development. Animations are really difficult to get right if the asset is not final and done right.
Learning. We could have done a fully fleshed prototype really simple in after effects or even power point or key note.
Approval
Environment. There is an approval process in Canon, but it was and still is undocumented. It is at its best hierarchical, opinion-based and whimsical.
Risk Control. Going into the project I had an idea this was the case, and I took a heuristic approach on determining which stakeholders had to approve assets, and when. The truth of the matter is that this endeavor fell short and it was far too optimistic.
Side Effects. The project at the end, had the main animation, with the camera spinning removed.
Learning. Start the project with a stakeholder mapping and getting it signed off and sponsored by senior leadership.
Feedback
Environment. Stakeholders were asked to provide feedback on a regular basis, but the busy day-to-day made it a challenge for the right people to pay the right kind of attention.
Risk Control. I started asking actively for feedback, going to people's desks and being very specific on emails.
Side Effects. Without senior sponsorship and direction, feedback seemed like a nice to have process rather than a requirement.
Learning. Ensure stakeholders understand when, how and why to provide regular feedback.
Testing
Environment. The business was new to an structured and mature product design process, which made it difficult to secure QA resources.
Risk Control. We had a daily review with the developers, and reviewed the project every morning, but without a lot of structure.
Side Effects. A lot of tiny last minute changes.
Learning. Make sure some form of structure or process is factored into the project as we budget for it.
Edgar held the role of Head of Product and Design at Canon between 2019 – 2021 in Sydney, NSW.
RELATED CASE STUDIES